- TOSIZE.be
- Do it yourself
- DIY Projects
Base frame for sliding/crosscut saw, by Stefan


Create this project yourself with sheet material cut to size by TOSIZE.be!
Stefan
Average
2 minutes
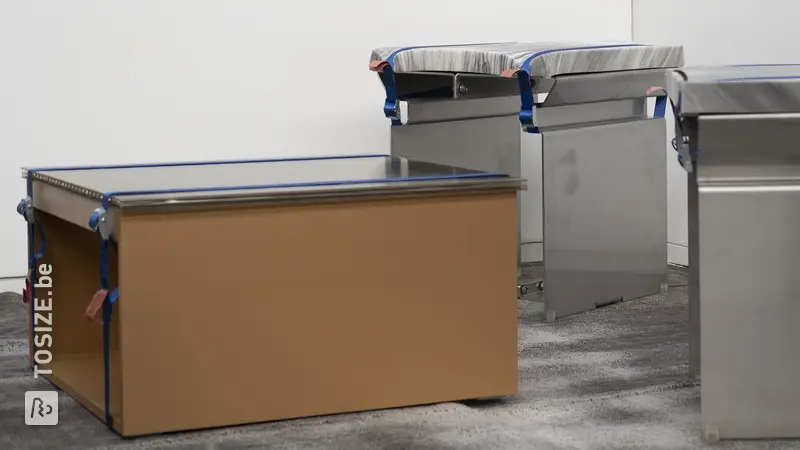
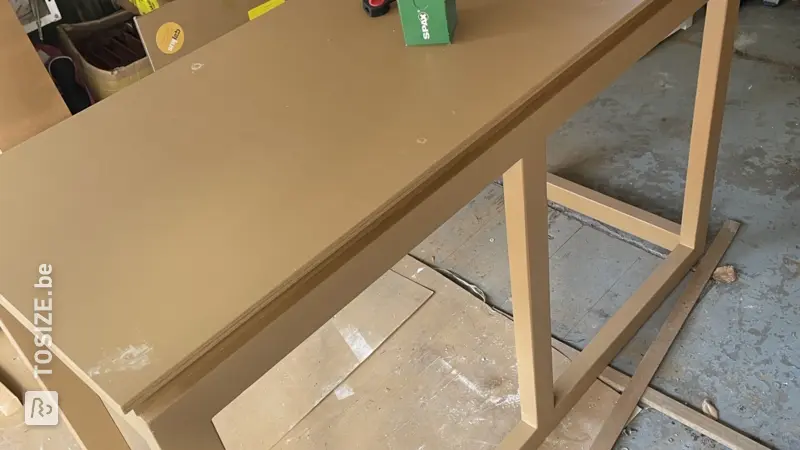
In this project, Stefan shows how he made a practical stand for his new miter saw. It's turned out to be a beautiful piece of furniture that fits perfectly into his entire home workshop.
Description from Stefan
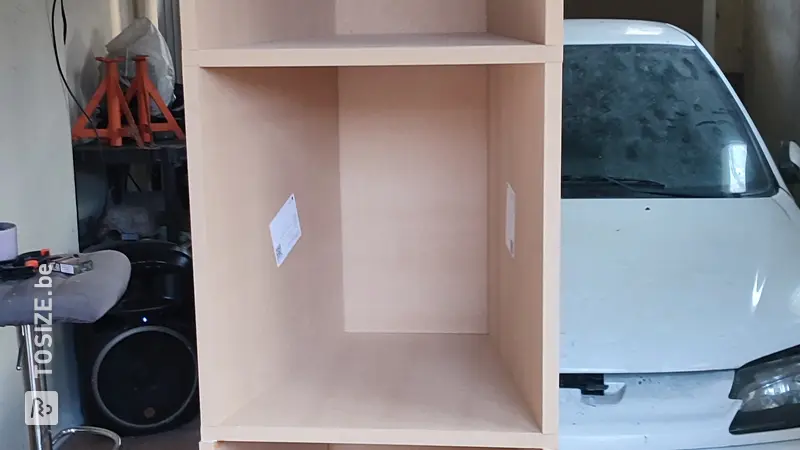
After I bought a new pull and crosscut saw for my workshop, I naturally also had to build a mobile base frame for it, which had to be the same height as the rest of the tables and surfaces in my workshop.
How I did this project
First of all, you shouldn't make a plan late at night, start calculating and then order it straight away. I miscalculated the height by 10 cm. That's why the base frame stands on 10 cm high "stilts". But at least this way I can easily get out from underneath it. First I screwed the body together and then mounted the 4 feet and the wheels. Then I did a bit of math (this time I had had a good night's sleep and my brain was sharp) and determined the height of the top plate. In the end, the height of the saw's support surface should exactly match the height of the workbench. I then deliberately screwed the plate a little lower, as it is easier to put something underneath to get it to the right height than to saw something away from somewhere. Once I had done that, I built a nice big scrap box and then put an insert shelf on top of it (for scraps that I want to keep). And the base was ready.
Dimensions of my DIY project
70.0 cm deep
66.0 cm wide
90.0 cm high
Tip! Also check out our handy DIY tips!
What now?
Want to make this DIY project? Check out Stefan's saw list and complete your order easily.
273,74 €
All materials used
View all sheet materials

