- TOSIZE.be
- Do it yourself
- DIY Projects
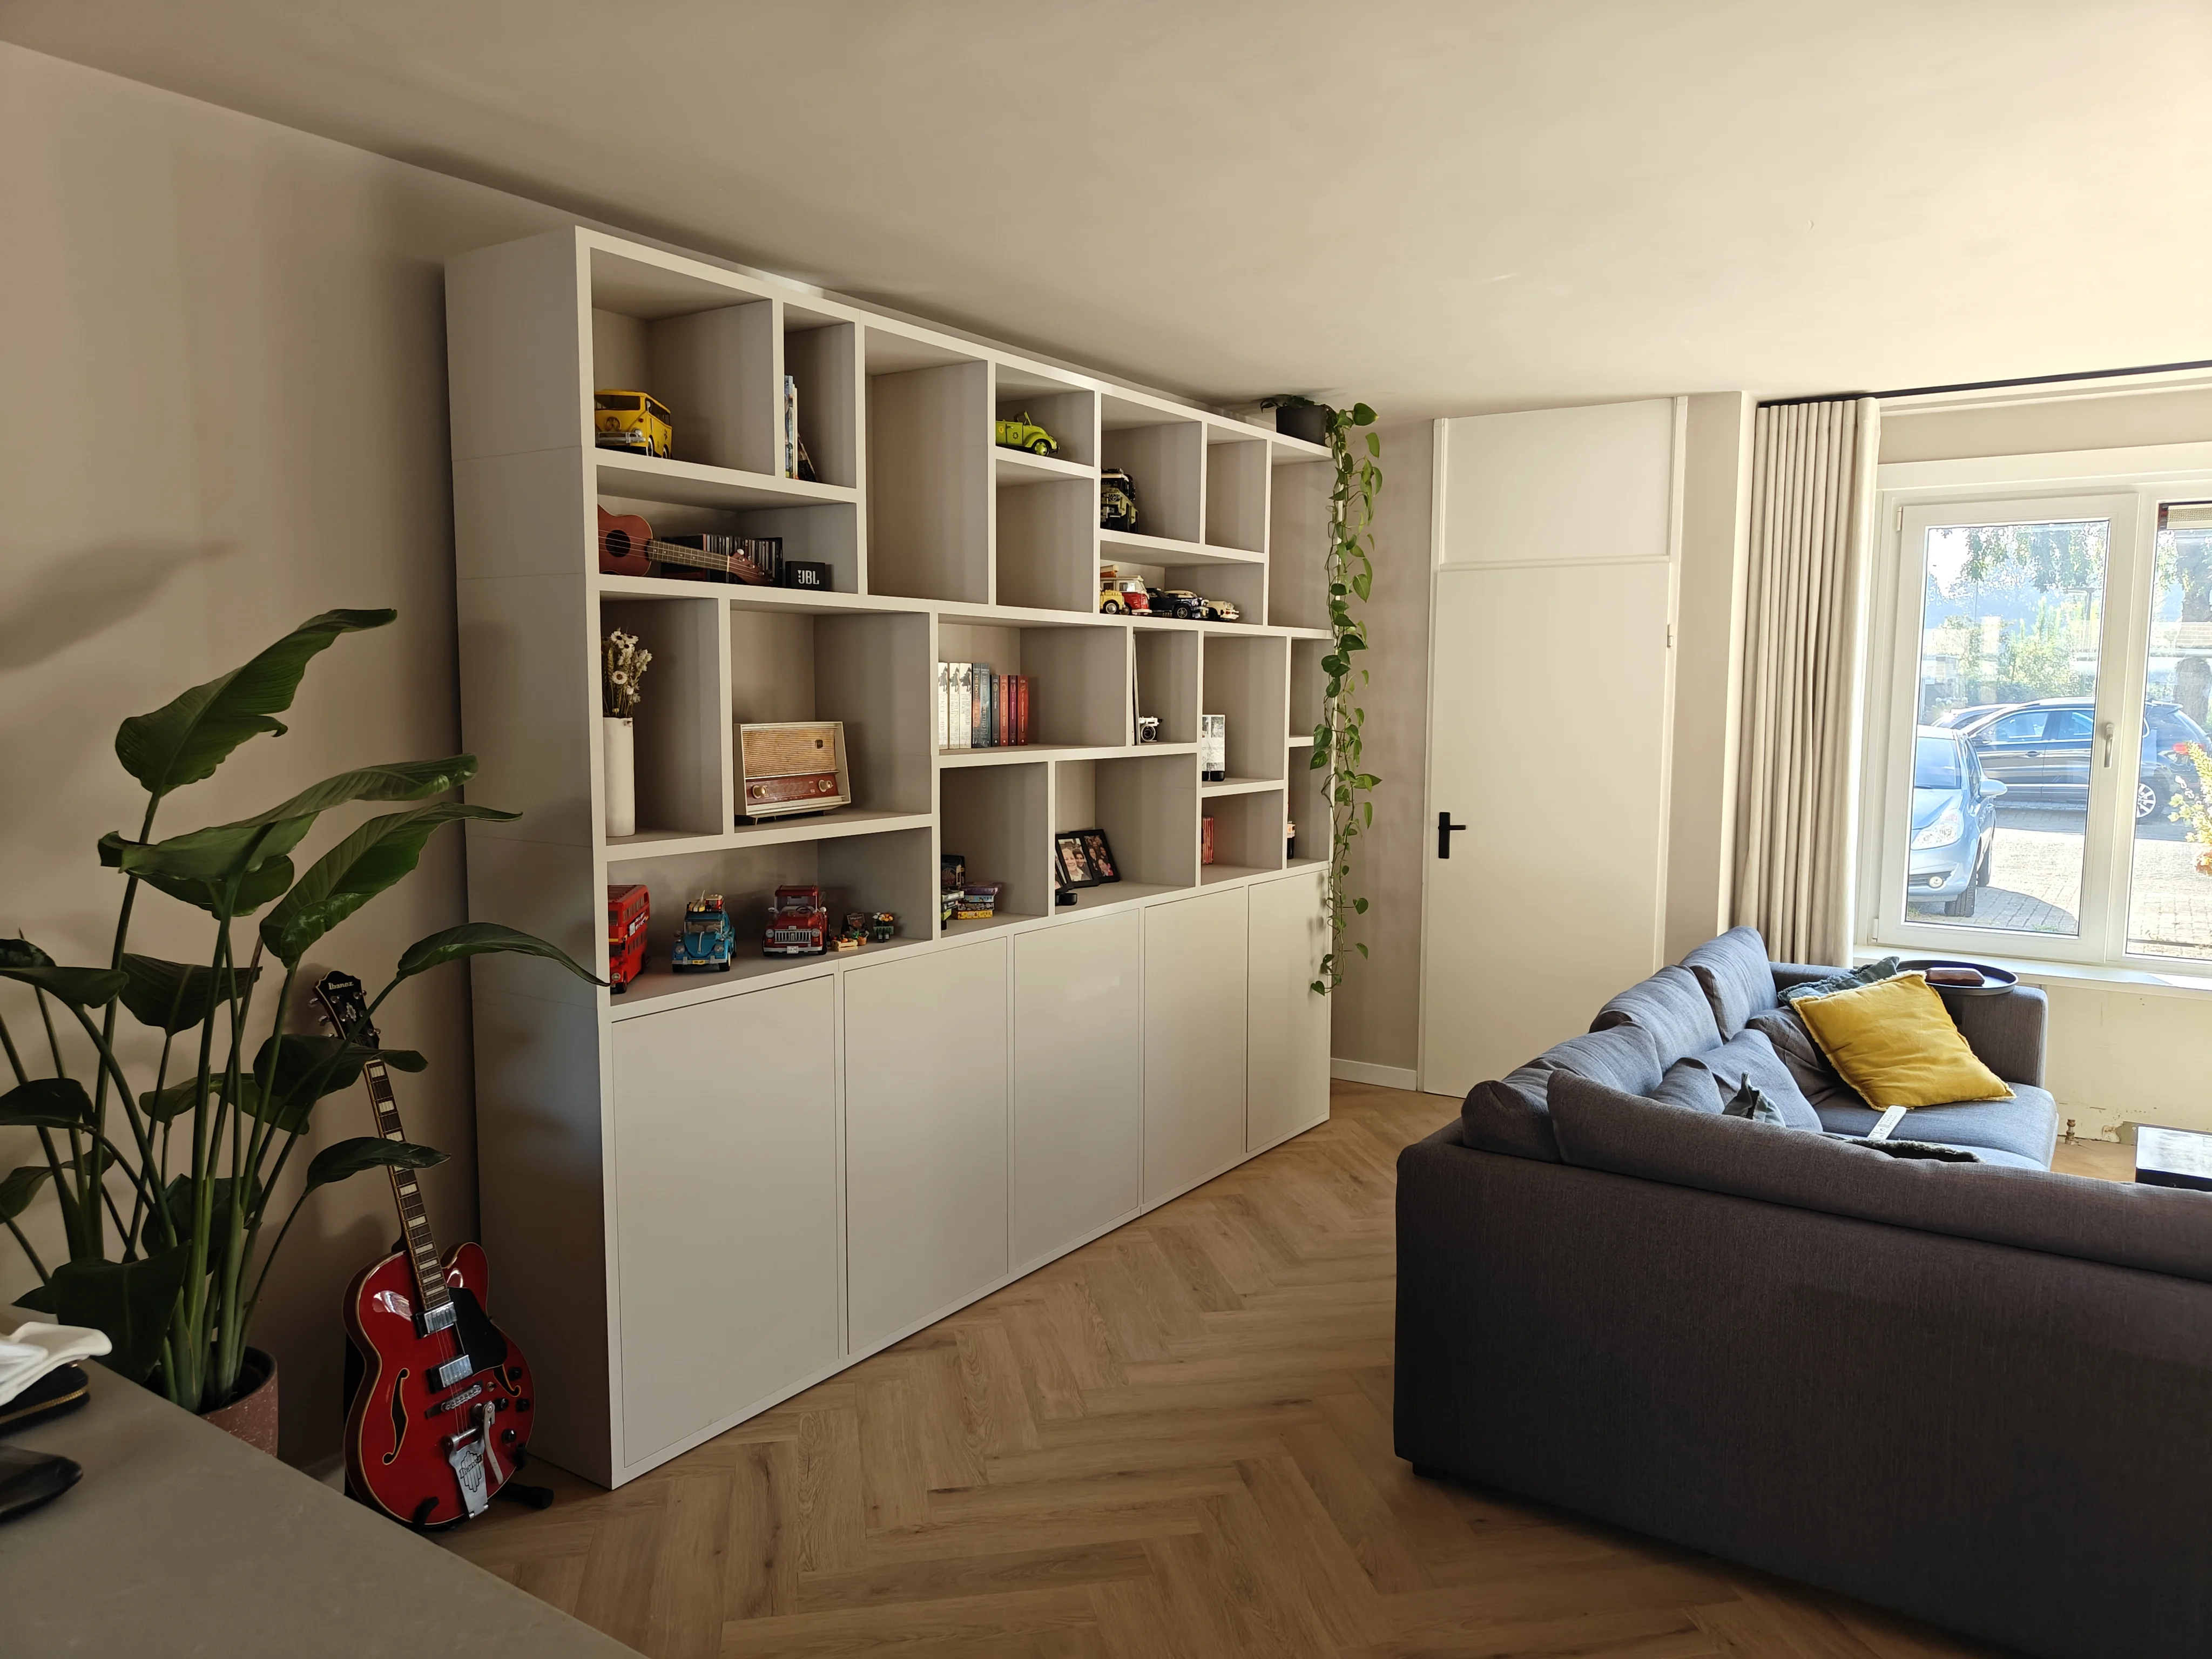
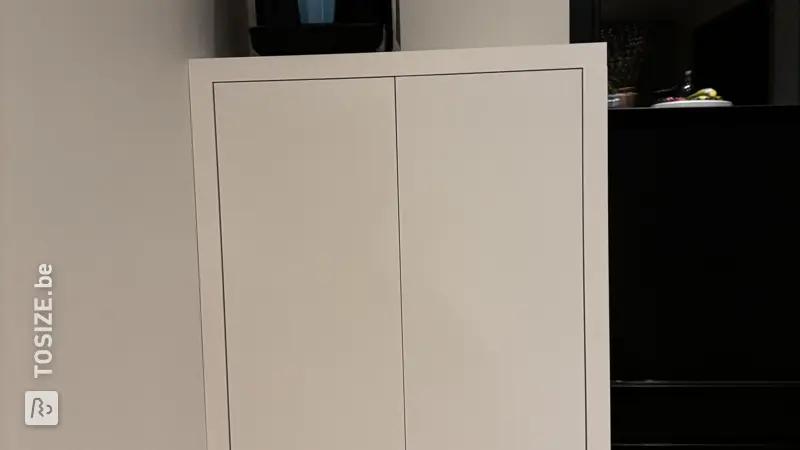
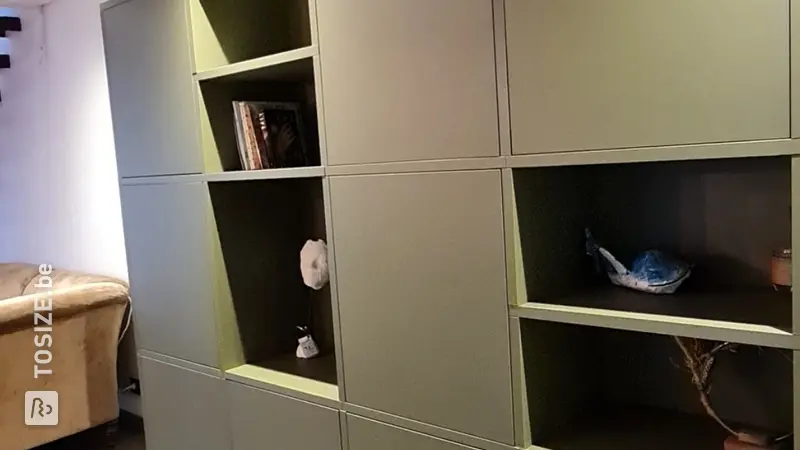
Corner cupboard and corner shelf made of MDF to match the Ikea wall unit, by Verena
Corner cupboard and corner shelf made of MDF to match the Ikea wall unit, by Verena

Create this project yourself with sheet material cut to size by TOSIZE.be!
Verena
Average
2 minutes
Description by Verena
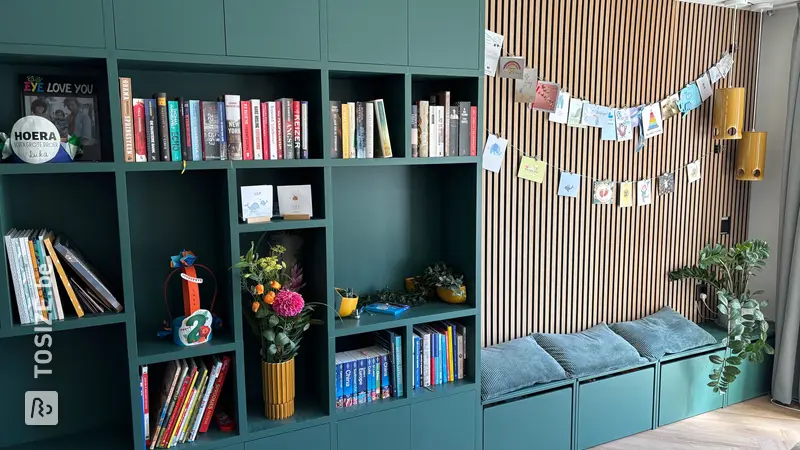
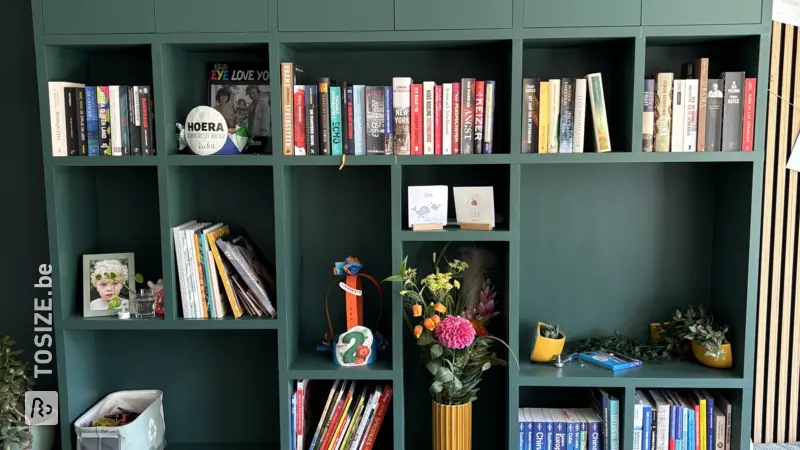
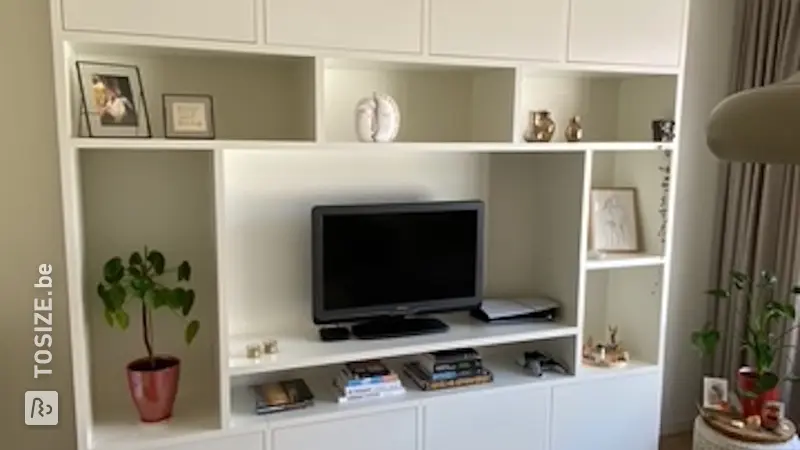
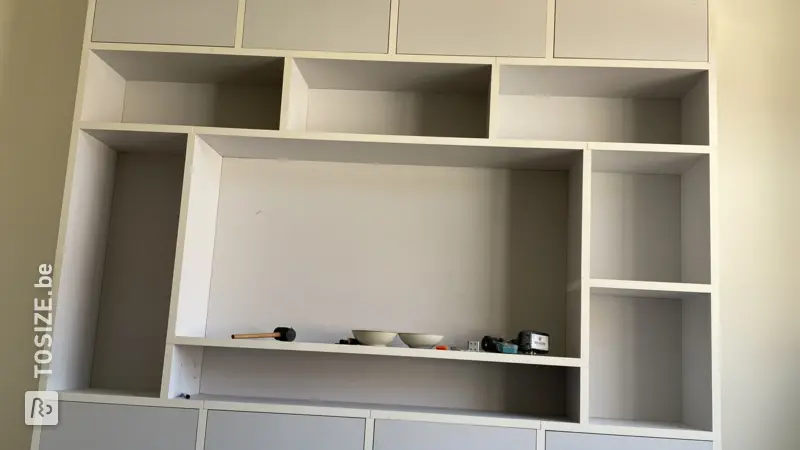
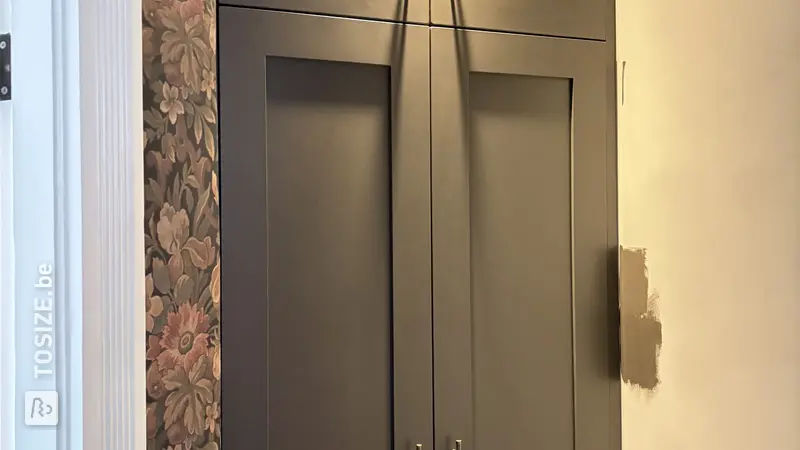
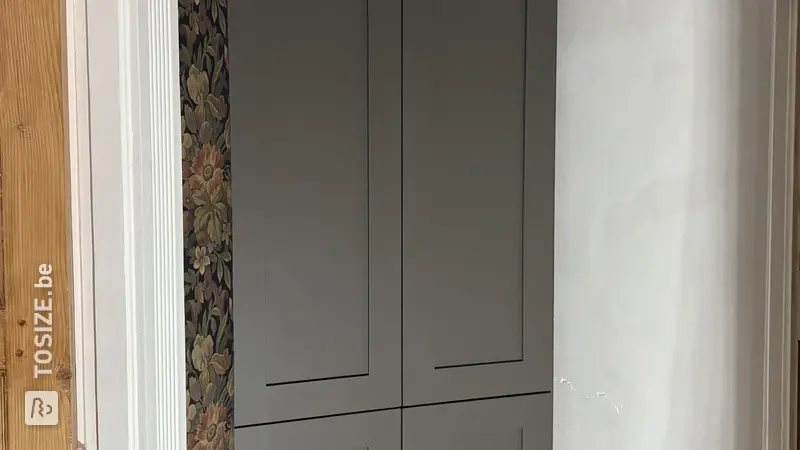
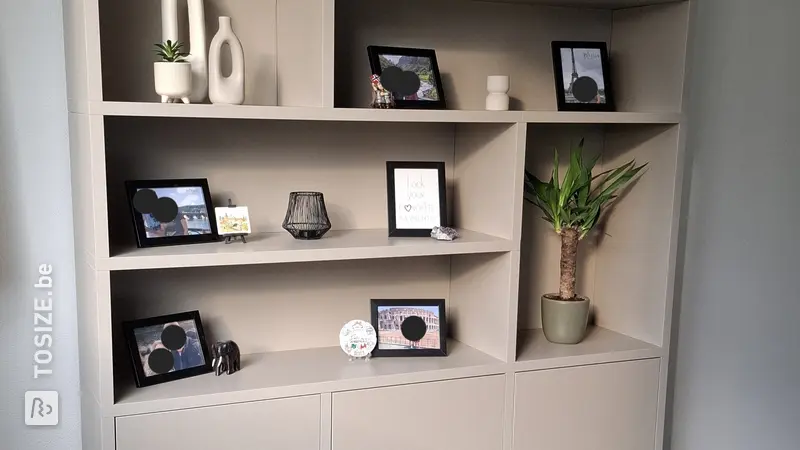
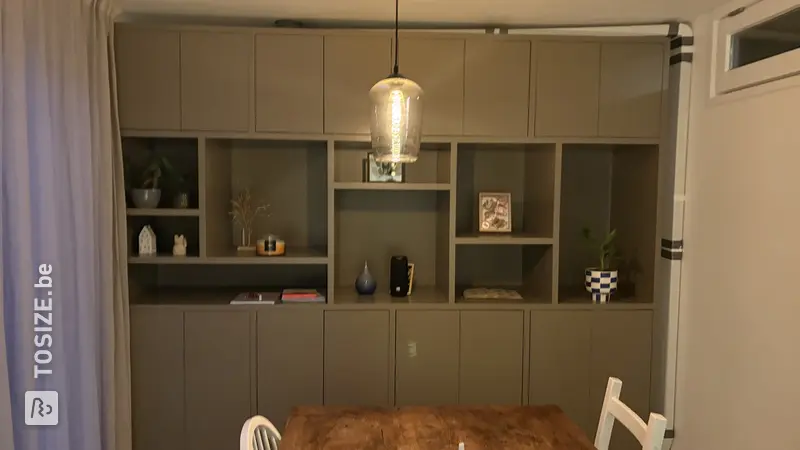
For a previously unused 45° corner between my existing Ikea wall unit and the adjacent wall, I have been wanting a solution for some time to hide unsightly cables and devices. The idea was to construct a cupboard specifically for this purpose. In addition, a suitable shelf should effectively fill the gap between the wall unit and the wall and provide additional storage space. It was also important to me that the new piece of furniture fits harmoniously with the existing wall unit.
How I did this project
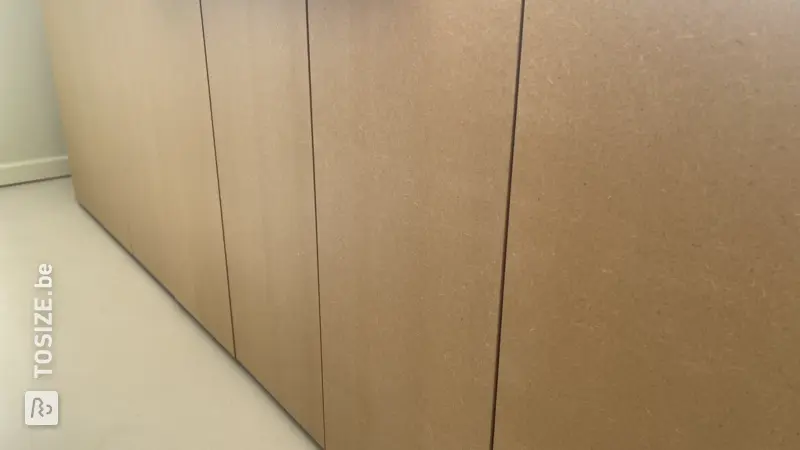
First, I determined the exact dimensions of the corner and made a draft using SketchUp. For the material, I chose MDF boards with a primer film. I chose a thicker MDF for the base unit so that I could later insert threaded sockets for Ikea furniture feet. Since a trapezoidal cut in the required dimensions was not possible, I ordered triangular boards and cut them to size later at home. ABS edges were attached to all visible edges by hand using special edge glue and the edges were cleanly milled. All boards were then painted with two to three coats of satin matt acrylic varnish in pure white. A top coat was not necessary. The surface is a bit shinier than the Ikea coating but overall the difference is hardly noticeable. Since I am a complete beginner in furniture making, all parts were simply connected with wooden dowels and furniture screws like with a normal Ikea cabinet. Ikea fittings were also used to mount the door on the base cabinet. Since the base cabinet is wider than a normal Ikea base cabinet, a small panel had to be attached here. Before assembling, I milled a hole in the wall side of the base cabinet to connect the router and telephone. For the shelf, I had a back panel cut to size at Bauhaus and simply glued it to the back of the shelf. I used the router to cut small recesses into the shelves so that the shelves could be placed invisibly on shelf brackets. The shelf brackets themselves are attached to the wall side at a 45° angle. To round off the overall look, the foot area was covered with a skirting board. A stucco strip served to create a seamless transition between the shelf and the ceiling.
Dimensions of my DIY project
Height: 241 cm Width: 87 cm Depth: 82 cm
Tip! Also check out our handy DIY tips!
What now?
Want to make this DIY project? Check out Verena's saw list and complete your order easily.
308,89 €
View all sheet materials